

Bread is something almost everyone loves, and it goes with just about anything. Today we introduce a deliciously soft milk bread that melts in the mouth, is easy to make and sells well. Let's take a look.
Let's head to the kitchen and bake some tasty bread to keep at home. This milk bread recipe contains no improvers and needs no machine: kneading by hand is all it takes. It doesn't need refrigerating and stays soft and delicious outside the fridge, and you can use it to make filled buns too. We're sure you'll love it.
If you've been looking for a really simple hand-kneaded bread recipe, MK Unigroup presents this milk bread made with butter for extra moistness, brushed with an egg-and-milk wash for an easy golden finish. You can take it further and turn it into toast, overflowing filled buns or stuffed bread rolls.
Ready? Here's the milk bread recipe. It's super easy because it is kneaded by hand, the crumb is very soft, and it stays soft for several days outside the fridge. It can also be used for filled breads, so give it a try.
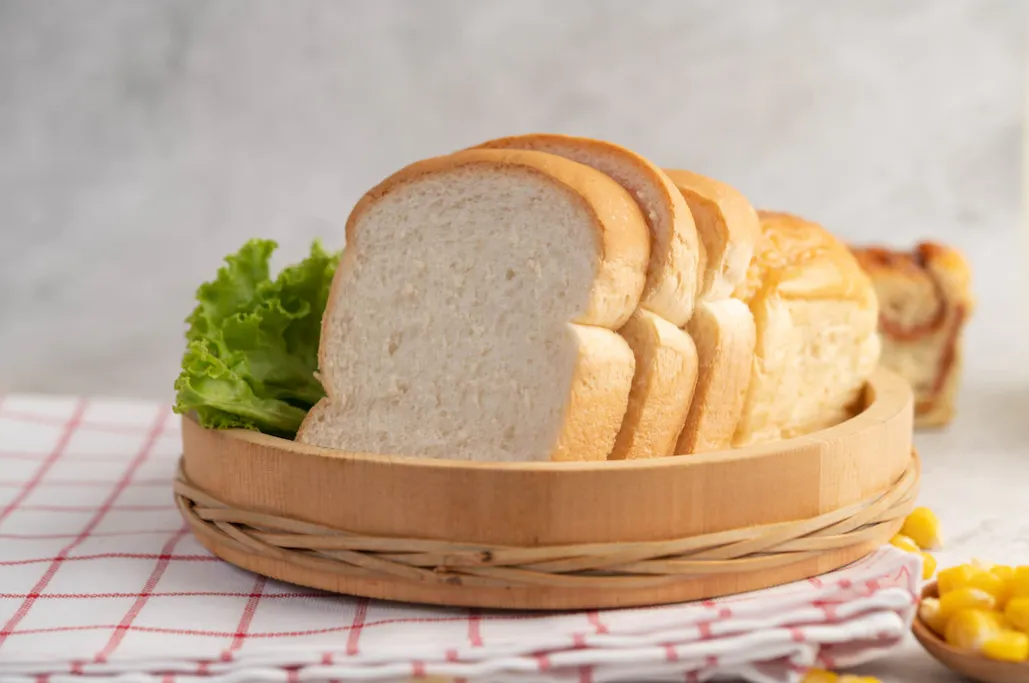
Milk Bread Ingredients
- 55 g granulated sugar
- 190 ml warm fresh milk
- 5 g yeast
- 4 g salt
- 240 g bread flour
- 60 g Bua Daeng (Red Lotus) flour or all-purpose flour
- 30–35 g beaten egg
- 45 g unsalted butter (room temperature)
- Egg mixed with milk, for brushing before baking
- Melted butter, for brushing after baking

How to Make Milk Bread
- Mix the sugar into the warm milk and stir until fully dissolved, then add the yeast and wait a while until it bubbles. Add only part of the sugar at first to test whether your stored yeast is still active. If you don't bake often and have yeast in storage, always test it before use. Milk temperature also matters: if it accidentally boils, let it cool until just warm, because yeast poured into boiling milk will die.
- Add the yeast-milk mixture, then the salt, egg and remaining sugar, to the bowl of flour. Knead for about 5 minutes. The dough will be rather wet at this stage, but it improves once the butter goes in. After kneading for a while, add the butter and knead for about 15–20 minutes, or until the dough is smooth.
- If the dough feels too dry while kneading, add water 1 tablespoon at a time; if it is too wet, gradually add more flour. Every brand of flour and every day's temperature is different, so as well as following the recipe you'll need to judge by feel. A soft, elastic dough means you're on the right track. Shape it into a ball and rest it for 1 hour in a bowl brushed with oil.
- After resting, punch the dough down and divide it into equal pieces. We made 24 pieces: 16 for an 8×8-inch tin and the rest in small tins, 4 per tin. Roll each piece into a ball and rest for about 10 minutes.
- Roll the pieces into balls again, this time smooth and neat, place them in the tins and rest for another 35–40 minutes. Keep an eye on this proof: when it is just right, you'll feel the air inside when you touch the dough, but it won't collapse. If over-proofed, the dough will sink when touched because it holds too much air, and it will also collapse unattractively in the oven.
- Gently brush the tops with the egg-and-milk wash. If you like a darker crust, use more egg than milk; for a paler top, brush with milk only. That's the secret to why bread crusts come in different colours.
- Bake at 180°C with top and bottom heat, fan off, for about 20 minutes. Fresh out of the oven, don't forget to brush the tops with butter.
And that's it: your milk bread is ready to enjoy. It can be eaten in endless ways and used as a base for many creative recipes. Give it a try!